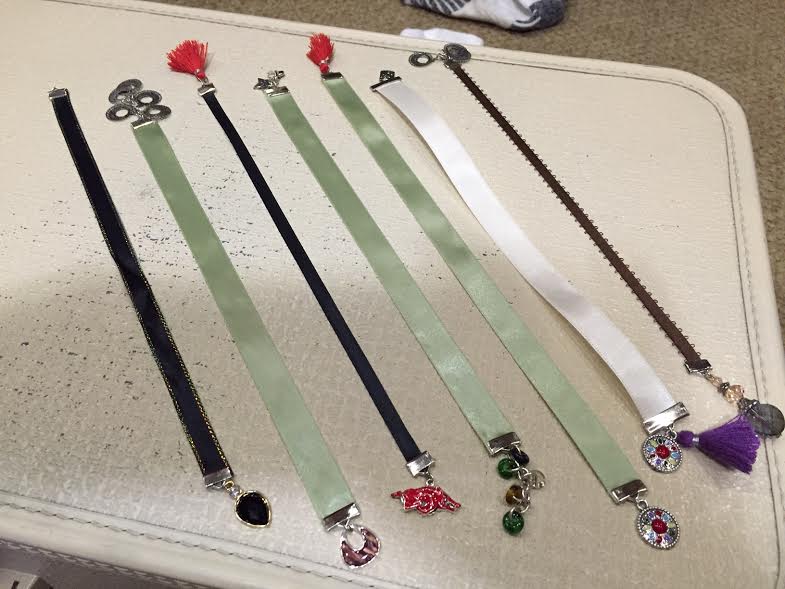
My MO friend, Jackie, started making these wonderful bookmarks out of ribbons and jewelry pieces. (those are hers above). After she sent me one, I decided to try it.
I've never gotten into jewelry-making due to lack of space. But I just bought some pliers and used some homemade earrings that I never wear. I did buy the jewelry clamps to put on the ends. Laura Lee will get these 2. Fun gift idea and something to do with all the extra ribbon we always end up with! I like the idea of giving one to anyone who loans me a book!
 |
| made a little batch in about 30 minutes |
 |
bought small baggies in which to give them ---- as Jackie did
|
August 2016: The DC Booth volunteers and staff got together and made some ribbon bookmarks. They turned out great. I showed them how to use recycled greeting cards to add a gift tag to their little baggies if they want to give them as gifts. Ashley added a wonderful touch to that -- she cut a piece of the gift card to size and put it inside the baggie. This gives the bag a sweet background and then it can be tagged as well. And Jerri taught us her version of bookmarks using stretchy cord. Those turned out really pretty!
 |
| the creative juices are flowing! |
 |
| Ashley, Cheryl (waving), Jerri, April, and Alice |
 |
| Alice finished hers in a jif! |
 |
| April, Ashley, and Cheryl looking pretty serious |
 |
| Cheryl and Jerri bookmarking |
 |
| April and Ashley checking out the finished products |
 |
| notice the cord bookmarks that Jerri taught us |
 |
| Ashley's packaging with the flowers |
September 2016: Decided to make more since I have plenty of ribbon and fixings,
since it's quick and easy & thanks to Ashley, I have new packaging skills!
Feb 2019: I made a bunch below for my CWF group