Sunday, February 17, 2013

Cantaloop Scarf

A pattern and yarn Jerri gave me
before steam ironing it
after steam ironing
I usually don't block my scarves cuz I kinda like the curled edges.  This is the first one I've made that I wanted to block because I wanted the holes to show along the edges.  I simply used a steam iron.  Can't tell a whole lot of difference in the pix.  But in person, it looks much better.  I may iron it each time I get ready to wear it.


Cantaloop Pattern
By Shelley Brander

Size 15 needles
I am actually quite allergic to cantaloupe, but maybe it is the very lure of the “forbidden fruit” that drew me to this particular color of the luscious, smooshy cotton Sprout yarn. Just one skein and a couple of hours yields this soft, fun scarf
Directions:
Cast on 14 stitches.
Row 1: k1, yo, k2tog, k2tog, yo, k4, yo, k2tog, k2tog, yo, k1. Row 2: k1, purl to last stitch, k1.
Repeat these two rows until you have a couple of yards left, ending with a wrong side row. Bind off loosely using knit stitch.
I steam-blocked this fairly aggressively, using my fingers to open up the lacework. The Sprout responds very well to a steam iron.
Weave in ends

Friday, February 8, 2013

Gap-tastic Cowl

My very first knitting project in the round!!  After much coaxing from Jerri to learn how to knit in the round, I tried this pattern, which she gave me.  Tho it's very easy, it took me a few tries to get the pattern going correctly.  Once I was in rhythm, it was only about a 2 day project. Loved the Wool-Ease yarn!


Laura Lee will get my first one

This pattern and details can be found on Ravelry.com.  Basically, you cast on 131 stitches, join the round, then knit,purl, knit, purl all the way around til you get back to the join.  Then you purl, knit, purl, knit, etc.  Keep that pattern going until the cowl is as wide as you'd like.  The pattern suggests about 8 inches wide.  I just stopped when I liked the width.
Bind off in pattern.

my first try
 I was thinking how nice the lined up stitches looked, but couldn't understand why above and below them it was so "off line".  Jerri looked at it and told me the lines weren't supposed to be there.  I'd gotten off pattern somehow.  So after frogging a few times, it finally looked right.


Jerri's version - perfection
I used a Lion's Brand Wool-Ease yarn.  Very bulky.


My JCRV peeps enjoying a sunny day of knitting and crocheting outdoors in Feb 2013


9-18-14:  Linda Sue gave me a skein of red yarn and a skein of white yarn for my bday.  Sooooo I made a little something for game days this fall.  I think Brooke will be getting this for her bday since they are going to a Hog game in late Oct.


it can be worn long

or short

Brooke got to wear it for a chilly campout!


Friday, February 1, 2013

Ummm, Friendship Scarf

Actually, the pattern is called Effin Scarf.  Ok, so I hate the name, but I love the pattern!!  And so easy.  Evidently it wasn't easy for the creator to develop.  Took her 5 years, hence the name. (Sue, one of my jcrv peeps dubbed it Friendship Scarf, cuz it sounds better and we learned it with a little help from our friends!) You can order this pattern through Ravelry.com.


This yarn is Berroco, Captivata Metallic
Patons Grace Yarn from Michael's

this one is for Lulu
Grace cotton yarn from Michael's
Berocco Origami Yarn
Berroco Origami


Berocco Seduce yarn


Jerri's Flowers


Mizz Boss giving Kathy some instructions
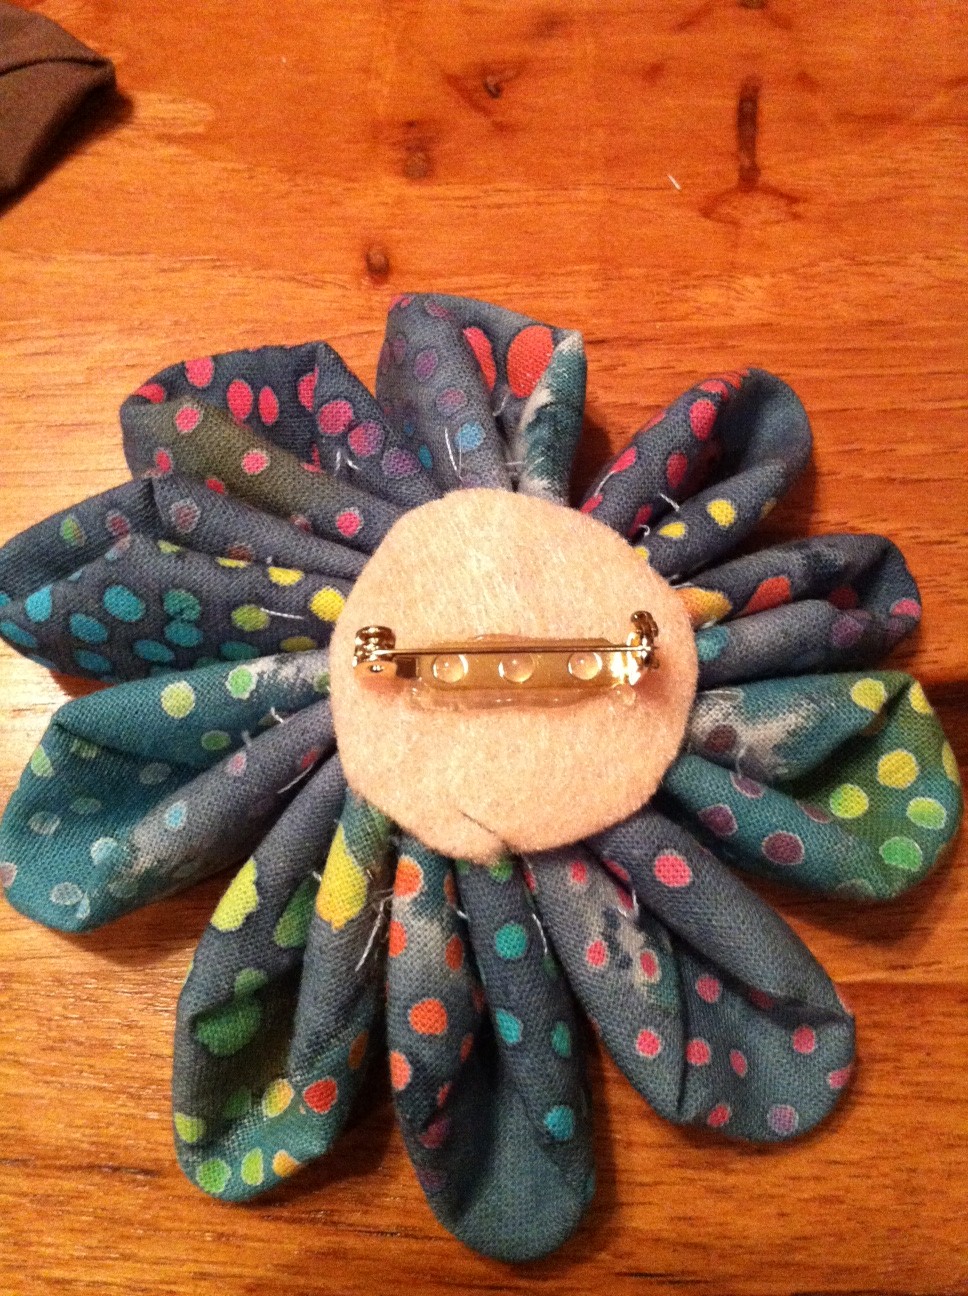
1-30-13:  Jerri taught us to make these great flowers today in crafts.  She also gave us a website to refer to when making them.  bittybitsandpieces.blotspot.com/2010/01/kanzashi-flower-tutorial.html

Maxine stitching away
Flower Children
Linda, Connie, and Shirlene pinning their pedals
Jerri showing Cindy the next step


fold in half diagnonally
then bring each point to top from the bottom
like so
then flip to backside and bring corners to center
you'll see pleats -- this will be front of your pedal
pin like this, then tac with thread
then straighten up the raw end w/scissors
Karen showing how to sew the pedals together
(next time, we may use hot glue rather than needle/thread)
then hot glue felt and a pin on the back of flower
put some hot glue down the center of flower, then glue on button
ta-daaaaaa
made a few more about a week later
sewing the pedals together

Friday, January 25, 2013

Linda's Scissor Holders


Linda's scissor holder
Linda taught us how to make cute potholder scissor holders in crafts at JCRV.  So easy. And cute.  First you get a potholder and kitchen scissors from Dollar Tree.  Fold the potholder as shown and hot glue down. Then you can adorn your holder with beads, flowers, scrapbooking stuff, etc.  If your potholder has cool pix on it, you might want to leave the adornments off.  Use velcro to attach it to a cabinet, or buy a hook and hang it by that.  Thx, Linda!


the girls picking out adornments
fold
looks like a cone shape 
hot glue
say cheese
finished product